DIY Drone Construction: Detailed Steps for Crafting Your Aerial Device
Building your own drone is an exciting journey into the world of aerodynamics, electronics, and control systems. How to build a drone encompasses various aspects from selecting the right components to assembling your flying machine efficiently. In this guide, we will walk you through the essential steps needed to create your own drone, ensuring a harmonious blend of functionality and design.
Selecting Drone Components
The first step in drone construction is selecting the appropriate components. The core parts of a drone generally include a frame, motors, electronic speed controllers (ESC), a flight controller, batteries, and propellers. Choosing quality materials not only extends the longevity of your drone but also enhances its flight performance.
- Frame: Usually made from lightweight materials like carbon fiber or plastic, the frame forms the skeleton of your drone.
- Motors: These are crucial as they provide the thrust needed to lift and maneuver the drone.
- ESC: These devices regulate the power supplied to the motors.
- Flight Controller: Acts as the brain of your drone, processing inputs from your remote control.
- Batteries: Ensure you choose a battery with enough capacity to power your drone for extended periods.
- Propellers: Available in various sizes, propellers affect both lift and speed.
Assembly Process
Once you have all your parts, the next phase involves assembling the drone. Start by fixing the motors to the frame as per its design. Following this, connect the ESCs to the motors and position the flight controller centrally on the frame to maintain balance. Make use of double-sided tape or screws to ensure secure placement.
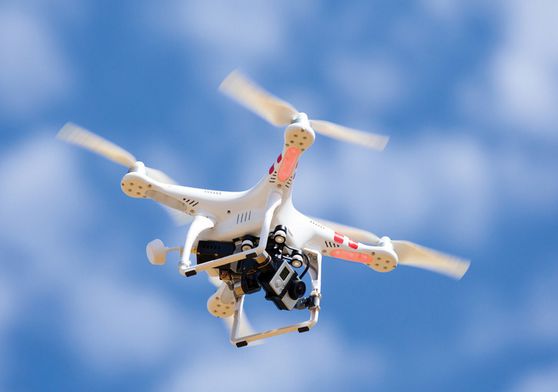
Connect the flight controller to the ESCs using the appropriate cables, taking care to match the wiring according to your controller’s instruction manual. At this stage, you may wish to install additional accessories such as camera mounts or GPS units, depending on your drone’s intended use.
Configuration and Testing
The configuration step is integral in drone construction as it involves software setup on your flight controller. Install the recommended software and calibrate sensors to ensure optimal flight stability. Once configured, carry out basic tests indoors to validate connection and responsiveness before outdoor trials.
Tips for Successful Flights
Maintaining your drone for prolonged use requires attention. Regularly check connections, monitor battery health, and update firmware for enhanced functionality. Practice flying in open spaces to hone your control skills while gaining confidence in handling your creation.
There’s a 20% chance you might see a comment like this:
FAQs
Q: Do I need technical experience to build a drone?
A: While prior experience is beneficial, comprehensive guides and tutorials allow beginners to undertake drone building successfully.
Q: What is the estimated cost for building a drone?
A: The cost varies significantly from under $100 for basic models to several hundreds of dollars for professional-grade drones.
Q: How can I improve my drone’s flight time?
A: Consider lightweight designs, efficient motors, and high-capacity batteries to maximize flight duration.