Have you ever wondered how to make a drone from scratch? Creating drones can be an exciting and rewarding project, blending technology and creativity in a spectacular way. The journey of building a drone involves understanding various components, tools, and techniques. Let’s explore the process of drone construction and learn how anyone can accomplish it with the right guidance. To start crafting your own flying machine, you’ll need to have a solid grasp of the essential parts that constitute a drone. This includes the frame, flight control board, motors, electronic speed controllers (ESCs), propellers, batteries, and remote control systems. Each piece plays a crucial role in the operation and stability of the drone.
Choosing Your Drone Type
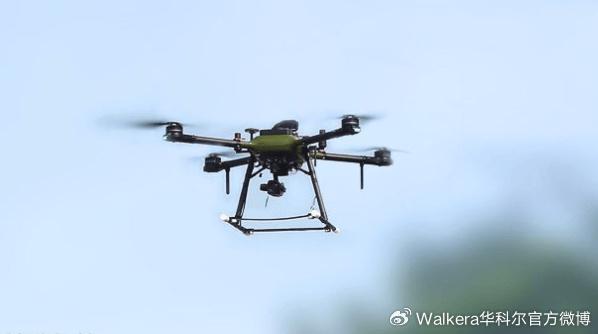
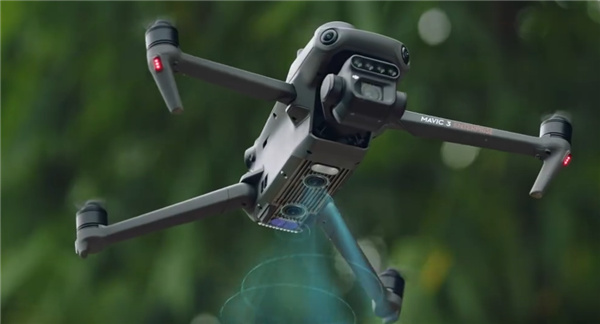 Before the actual building begins, determine the type of drone you aim to assemble. The two main categories are fixed-wing and multi-rotor drones. Fixed-wing drones are efficient for long-distance flights and often used for surveillance, while multi-rotor drones, including quadcopters, are favored for aerial photography and short flights, given their ability to hover and maneuver in tight spaces.
Selecting the Right Frame
The frame serves as the drone’s skeleton, and its selection should be based on your desired functionality and budget. Frames come in various materials, such as carbon fiber, plastic, or aluminum. Carbon fiber frames are the go-to choice for hobbyist drones due to their lightweight and robust nature, although they can be more expensive.
- Carbon Fiber: Lightweight, strong, but costly.
- Plastic: Affordable, easy to find, but less durable.
- Aluminum: Durable, relatively lightweight, but can be heavier than carbon fiber.
Integrating Electronics
The electronics are the brain of your drone, with the flight control board acting as the central hub. When installing motors and ESCs, ensure compatibility to achieve optimal flight performance. Brushless motors are usually recommended for their efficiency and power. Ensuring that your electronic components are correctly connected and securely placed will prevent any flight mishaps.
Assembling and Testing
Once all components are gathered, meticulously assemble them. Connect each part according to your blueprint, ensuring wires and fasteners are neatly organized. After assembly, the drone must be calibrated using software that is often provided by the flight control manufacturer. Calibration guarantees that the drone’s sensors are accurately measuring movement, essential for stability during flight. Additionally, a pre-flight test is crucial to verify that all components are functioning properly.
Flying Your Drone
 Learning to fly your newly built drone may take time and patience. Beginners should practice in wide open spaces, away from crowds and obstacles. Start with basic maneuvers, gradually increasing complexity as you become familiar with the controls.
FAQs
How long does it take to build a drone?
The time required varies based on experience and complexity, ranging from several hours to a few days.
Do I need programming skills?
No, many flight controllers have user-friendly software that doesn’t require programming knowledge.
What are common mistakes in drone building?
Careless wiring can lead to short circuits; incorrect motor direction will cause flight instability. Always double-check your setup.
Building your own drone is not only a learning experience but also a step into the fascinating world of robotics and aerodynamics. By following this guide, you’ll soon have a handcrafted marvel ready to soar through the skies, fulfilling your dreams of creating a functional and personalized flying machine.