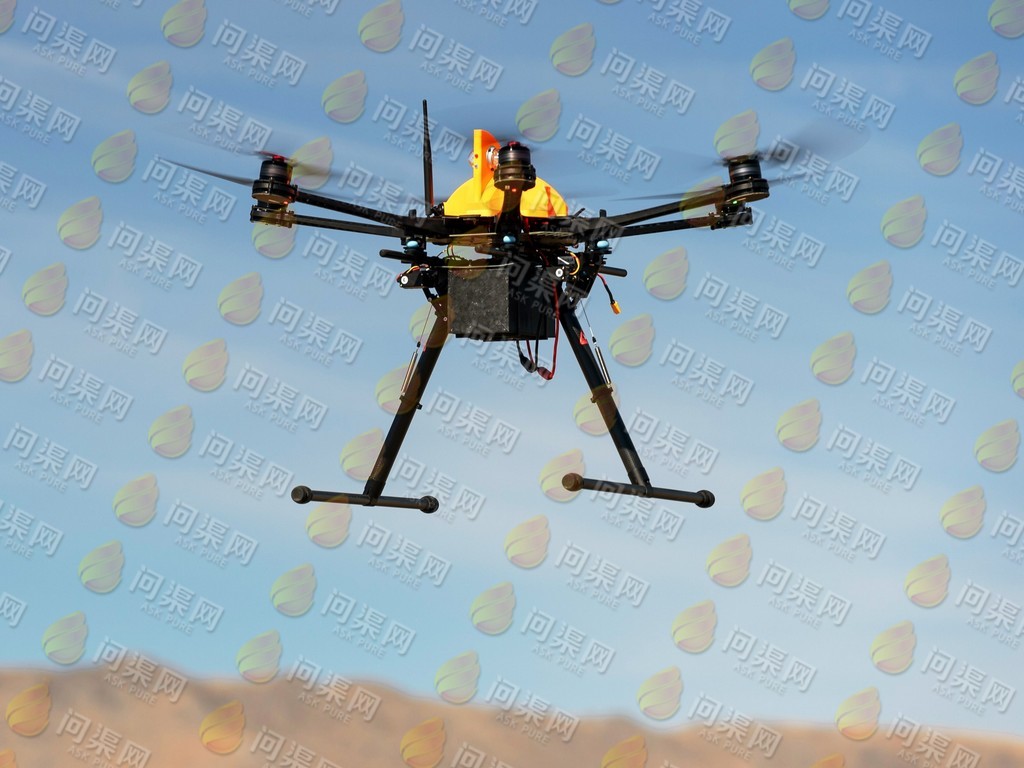
Building and flying your own drone is no longer a pursuit only for tech specialists; with the increasing availability of DIY drone kits equipped with Pixhawk, anyone can dive into the world of drone technology. The Pixhawk, a renowned flight controller, is the heart of many drone kits, making it a versatile and reliable choice for both beginners and experienced hobbyists.
What Makes Pixhawk Ideal for DIY Drone Kits?
When it comes to DIY drone kits, the flight controller is arguably the most crucial component. Pixhawk stands out due to its open-source flexibility, high performance, and compatibility with a wide range of sensors and accessories. Built with cutting-edge hardware and advanced firmware like PX4 or Ardupilot, Pixhawk ensures precision, reliability, and customization capabilities.
Pixhawk-based kits are often sought after for their adaptability. Whether you’re designing a quadcopter for aerial photography, a mapping UAV, or an agile racing drone, the Pixhawk offers a strong foundation. Its built-in safety features, such as dual IMUs (Inertial Measurement Units) and redundancy options, make it a favorite among enthusiasts and professionals alike.
Essential Components of a DIY Drone Kit
- Pixhawk Flight Controller: As the primary flight controller, it serves as the brain of your drone, interpreting signals and ensuring stable flight.
- Motors and Propellers: With powerful brushless motors, paired with optimized propellers, they provide the thrust needed for flight.
- Electronic Speed Controllers (ESCs): These regulate the speed of each motor, working in harmony with the Pixhawk.
- Frame: A durable frame, often made from carbon fiber, ensures the drone is lightweight yet robust.
- Battery and Power Module: Provides energy to the motors and flight controller, offering extended flight durations.
- Sensors: These include GPS modules, barometers, and gyroscopes for enhanced tracking, positioning, and stability.
- Remote Controller and Receiver: To take control of your drone, these are essential pieces of equipment.
Step-by-Step Guide to Building Your DIY Drone with Pixhawk
While every kit may differ slightly, the following is a general roadmap:
- Begin by assembling the drone frame, attaching arms, landing gear, and any other structural pieces.
- Mount the motors on the arms and connect them to the ESCs securely.
- Integrate the Pixhawk flight controller by mounting it on the designated area of the frame. Use anti-vibration pads to reduce interference.
- Connect all essential components, such as the GPS module, radio receiver, and battery, to the Pixhawk.
- Install the propellers but leave them disarmed during configuration to ensure safety.
- Configure the Pixhawk by connecting it to a ground control station, such as Mission Planner or QGroundControl, to load firmware and set parameters.
- Perform a pre-flight check, including calibrating the compass, ensuring proper motor rotation, and verifying all connections.
- Once tested, move to an open area and perform the first flight in “Stabilize Mode,” allowing you to get accustomed to the controls.
Benefits of Choosing a DIY Drone Kit with Pixhawk
Opting for a DIY kit allows you to customize and fine-tune your drone based on your unique needs. Pixhawk enhances this process with its extensive community support and regular firmware updates. Additionally, building your drone from scratch deepens your understanding of how various components interact, empowering you to troubleshoot and upgrade with confidence.
Tips for First-Time Drone Builders
For beginners venturing into DIY drone projects, consider starting with a kit specifically designed for novices. These often come with detailed instructions and pre-calibrated components. Additionally:
- Ensure you have the right tools, such as screwdrivers, soldering kits, and zip ties.
- Thoroughly read the product manual, especially the section on configuring the Pixhawk.
- Engage with online forums and communities dedicated to Pixhawk users—these resources provide invaluable tips and troubleshooting advice.
Troubleshooting: Common Challenges
Even the most well-prepared builders may encounter challenges. Pixhawk users frequently troubleshoot issues like inconsistent GPS signals (solvable by ensuring a clear sky view) or motor calibration errors (addressed by rechecking ESC connections).
Having a systematic approach to problem-solving can turn these obstacles into learning moments, enhancing your skills.
In conclusion, a DIY drone kit equipped with Pixhawk is an exciting venture into the world of unmanned aerial vehicles. With its advanced features, reliable performance, and endless customization possibilities, Pixhawk remains the go-to controller for DIY enthusiasts. Whether you’re a hobbyist or a professional, building and flying your Pixhawk-powered drone is an unparalleled experience.
Frequently Asked Questions
1. How does Pixhawk compare to other flight controllers?
Pixhawk stands out for its open-source nature, robust hardware, and community-driven development, making it more adaptive and reliable for a variety of use cases.
2. Is prior experience necessary to build a DIY drone?
No, many kits cater to beginners with step-by-step guides. However, patience and a willingness to learn are essential.
3. Can I upgrade my Pixhawk-based drone later?
Absolutely. The modular design of Pixhawk and its compatibility with numerous components allow for seamless upgrades and expansions as your skills grow.