Building Your Own Drone: A Comprehensive Guide
Creating a drone from scratch is an exhilarating and rewarding experience. Whether you’re a hobbyist or a technology enthusiast, understanding how to build a drone can enhance your skills and provide deeper insights into aerodynamics and electronics. Let’s delve into the key steps necessary to construct your own drone.
Understanding the Basics
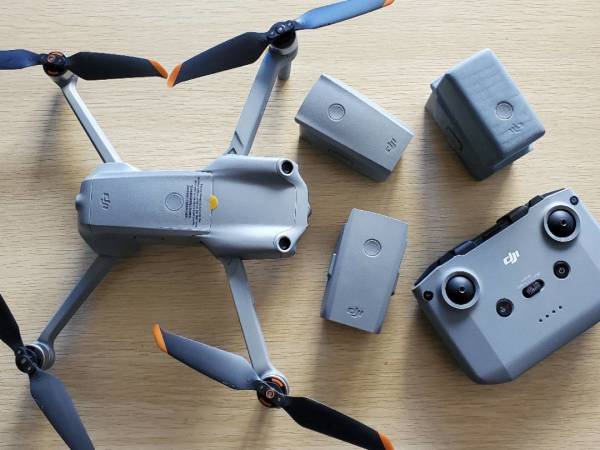
Before embarking on your journey, it is crucial to familiarize yourself with the various components that constitute a drone. A typical drone setup includes a frame, motors, propellers, electronic speed controllers (ESCs), a flight controller, batteries, and radio transmitters.
Selecting the Right Frame
The frame is the skeleton of your drone and determines its size and shape. Select a frame that suits your drone’s purpose, be it aerial photography, racing, or simply flying for fun. Carbon fiber frames are lightweight and robust, making them an excellent choice for durability and performance.
Choosing Motors and Propellers
The next step involves selecting appropriate motors and propellers. Motors are responsible for the lift and motion of the drone. Determine the thrust requirements based on the drone’s weight and intended flight type. Pair your motors with the right propellers for optimal efficiency.
Installing Electronic Speed Controllers (ESCs)
ESCs control the speed of the motors and play a pivotal role in the drone’s operation. Securely connect each ESC to its corresponding motor and ensure that the wiring is neat and organized to prevent any interference.
Setting Up the Flight Controller
The flight controller is the brain of the drone, managing stabilization and navigation. Popular models include the Betaflight and Cleanflight. Install and configure the software to calibrate the sensors and ensure seamless communication between components.
Battery and Power Considerations
Batteries provide the necessary power for your drone. Lithium Polymer (LiPo) batteries are commonly used due to their high energy density and lightweight properties. Select a battery with the capacity to support your drone’s flight time and adjust for any additional weight.
Radio Transmitters and Receivers
These devices facilitate communication between the drone and the pilot. Choose a transmitter with multiple channels to allow control over various drone functions like camera adjustment and flight modes.
Final Assembly and Testing
Once all components are assembled, it’s time to test your creation. Start with low-altitude flights to ensure stability and make necessary adjustments. Testing is crucial to resolve any unforeseen issues and optimize your drone’s performance.
Troubleshooting and Modifications
During testing, you might encounter issues that require troubleshooting. Don’t hesitate to explore online forums and communities for advice. Building a drone is not just about following instructions; it’s also about innovating and addressing challenges effectively.
Common FAQs
Q1: Can I build a drone without prior experience?
A: Yes, with a thorough understanding of the components and assembly process, beginners can successfully build a drone.
Q2: How much does it cost to build a drone?
A: Costs vary greatly depending on the quality and specifications of the components. A basic setup might cost between $100 and $500.
Q3: Are there legal requirements to fly a drone?
A: Yes, depending on your country, regulations may require registration of drones and adherence to flight rules.