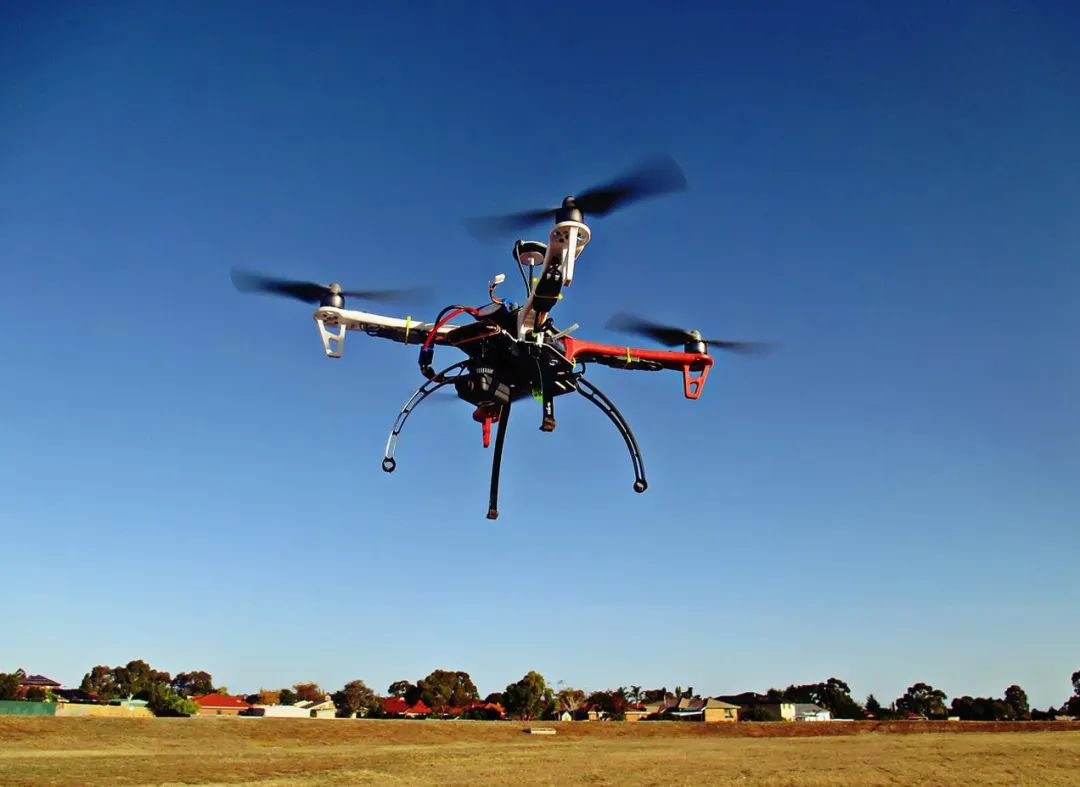
First and foremost, it’s crucial to understand what a drone is. A drone is essentially an unmanned aerial vehicle (UAV) that is controlled remotely. They range from simple toy drones to advanced models used in commercial and recreational activities. Before diving into the complex world of drone construction, familiarize yourself with the different types of drones available.
Essential Components to Build a Drone
- Frame: This is the structure on which all the other components are mounted. It needs to be lightweight yet durable.
- Propellers: These provide the drone with lift and control. Choose propellers that match the size and thrust requirements of your drone.
- Motors: Brushless motors are highly recommended for drones due to their efficiency and power.
- Electronic Speed Controller (ESC): This device regulates the power to the motors.
- Flight Controller: The brain of the drone, controlling flight stability and response to commands.
- Battery: Supplies power to all components. Opt for lithium-polymer batteries for longer flights.
- Radio Transmitter and Receiver: Allows you to control the drone remotely.
- Camera (optional): Adding a camera is great for aerial photography.
When assembling your drone, it’s essential to ensure that all components are compatible and properly connected. Misalignments can lead to inefficiencies or even failures. Check the specifications of each part for compatibility.
Where to Start
To build your own drone, begin by selecting a frame suitable for your needs. Some popular materials include carbon fiber, aluminum, and plastic. Carbon fiber is preferred for its lightweight and durability. Attach the motors to the frame securely, and connect the propellers to the motors.
The flight controller is a crucial component that requires careful installation. It manages the drone’s orientation and flight dynamics. Compatible firmware needs to be installed, enabling communication between components. Additionally, calibrate your flight controller to ensure stability.
Wiring and Power Management
Your drone will have multiple connections between the components. Utilize a power distribution board to efficiently manage power supply. This helps prevent overloads and ensures efficient energy usage. Securely connect the ESCs to the motors, allowing throttle control.
The radio transmitter should be bound to the receiver, ensuring precise control during flight. Choose a transmitter with enough channels to accommodate your drone’s features. Ensure interference-free communication by selecting a frequency that is clear and stable.
Test and Fine-tune
Before taking your drone for its maiden flight, it’s crucial to perform thorough testing. Check all connections and ensure the balance of weight across the frame. Inspect the propellers and motors for loose fittings. Test the drone’s responsiveness to commands on the ground before launching.
A well-balanced drone is key to smooth and stable flight. Adjust the settings on the transmitter and within the flight controller’s software to achieve optimal flight performance.
Safety and Regulations
Understanding safety measures and legal restrictions is imperative. Many local regions have laws governing drone usage, including altitude restrictions and no-fly zones. Familiarize yourself with these regulations before flying, ensuring a safe and legal experience.
FAQs
What is the average cost of building a DIY drone?
The cost can vary widely depending on the quality and type of components chosen. Basic models can be built for under $100, while more advanced versions with additional features may cost upwards of $1000.
What tools are necessary for building a drone?
A basic toolkit including screwdrivers, soldering iron, wire cutters, and pliers should suffice. Ensure you have the appropriate tools for handling electronic components and frame assembly.
Can I add a GPS to my DIY drone?
Yes, adding a GPS module can significantly enhance navigation and positioning capabilities. It requires additional setup within the flight controller, offering precise location data.